First start by logging in to your account.
Create the news post
From the Dashboard, hover over News and click Add News.
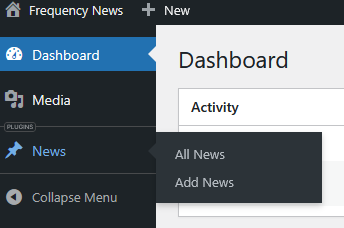
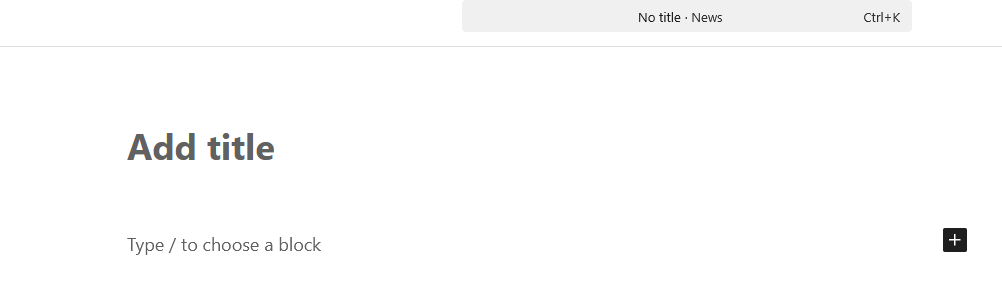
Insert the news title by clicking on the Add title field.
Set the featured image
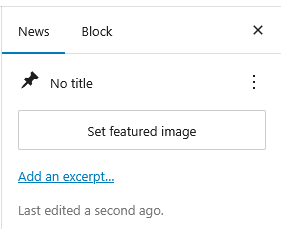
The featured image will be used for your article on the platform. Start by clicking the Set featured image button.
Then click on the Upload files tab, if not already selected.
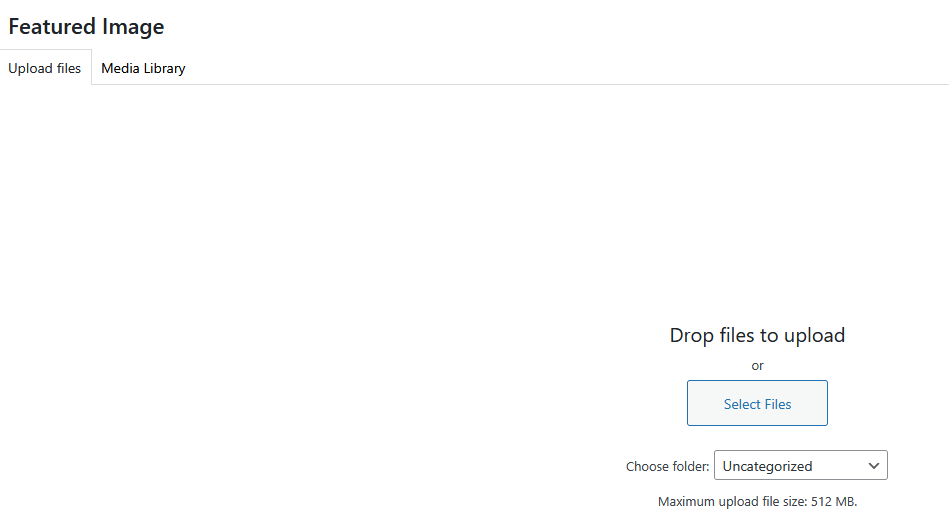
Before selecting the file, under Choose folder, select your media organization’s root folder or a related sub-folder. After choosing a folder, click the Select Files button to upload an image from your device*.
* Supported file types include:
- JPG (.jpg, .jpeg)
- PNG (.png)
- GIF (.gif)
- WebP (.webp)
After the image is finished uploading, you will have the opportunity to add the following details to the featured image:
Alt text
Brief, descriptive text that conveys the meaning and context of an image. This text is used by screen readers for people with accessibility needs and can contribute to search engine optimization (SEO).
Title
Primarily for internal organization and user experience. It serves as a label for media files within the media library, making it easier to identify. The image title can also appear as a tooltip when a user hovers over the image with a mouse, providing additional context or details that are not visible on mobile devices.
Caption
A short description or text that appears below the featured image, in the article (front-end), to provide context or credit for the photo.

Description
Serves as a space for adding detailed, contextual information about an image that goes beyond a simple caption. Unlike the caption, which appears directly beneath the image on the front-end, the description is primarily intended for internal use and is not displayed on the front-end of the platform.
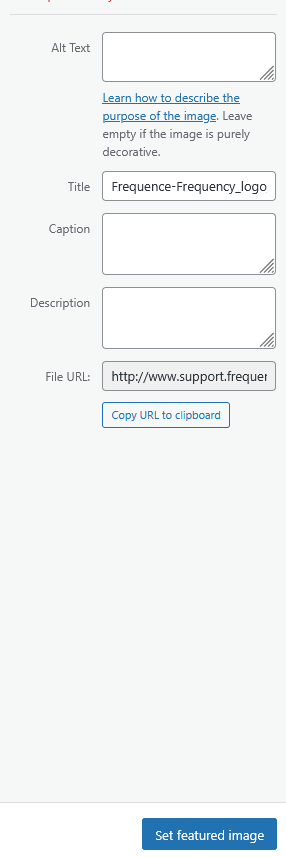
After adding the image details, click on the Set featured image button.
Add the categories and tags
Below the featured image, you can add categories and tags. Categories and tags each have a different purpose.
- Examples of categories: sports, politics, environment
- Examples of tags: blue jays, budget fall 2025, solar energy
Categories
Categories are mutually exclusive and more strict than tags. When selecting a category, please use an existing one.
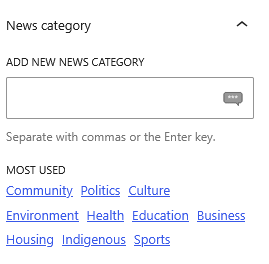
Click on one of the most used categories. If the category you are looking for doesn’t show up under Most used, please start typing the existing category in the field, until the appropriate suggestion appears; you can then click on that suggestion to set the article to this category.

Tip: if you are unsure which category to use, please browse www.frequencynews.ca under News; a sub-menu with the current categories will appear.

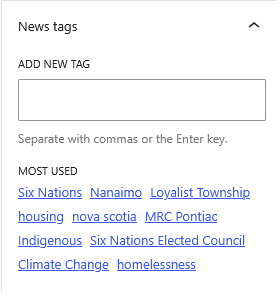
Tags
Tags are more flexible and granular than categories. Use tags that are relevant to your audience since they can enhance search engine optimization (SEO), improving the visibility and reach of your content to your community.
For example, if your news article covers a music festival, you could add tags for different artists or music styles. Or if covering a political debate, you could add tags for the different politicians taking part or political issues at stake.
Whereas categories should be limited to only one, feel free to use as many tags as you like.
Delete a block
To delete an entire block, click on the “…” icon to the right of the block toolbar, then select Delete. If you are working in a text block, such as paragraphs or headings, clicking on it or selecting the text will allow you to work just like in a text-editor; you can use the delete and backspace keys to delete what you want.
Add an excerpt (optional)
The excerpt serves as a short summary of the article. While it is not currently used in the front-end of the platform, it could be used in the future. It is currently used by RSS readers or in the preview when sharing the article on social media. The excerpt is optional; if you do not set it, the system will automatically use the first part of the article as the excerpt.
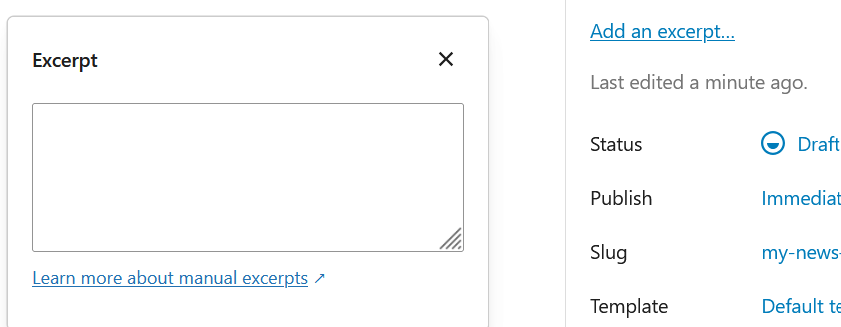
However, if yo can set a custom and “clean” excerpt by clicking on the “Add excerpt…” link, just below the featured image, in the left side bar.
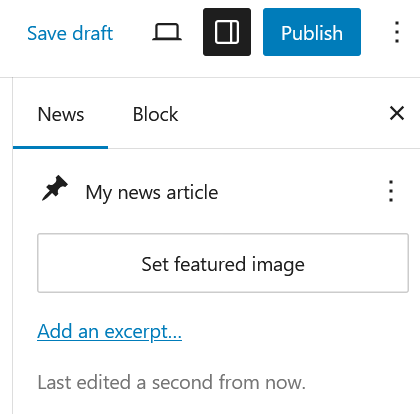
This will show an excerpt box where you type or paste your custom excerpt.
Save as draft
While not mandatory, now might be a good time to save your progress without publishing the article. To do so, click Save draft, top right of the screen:
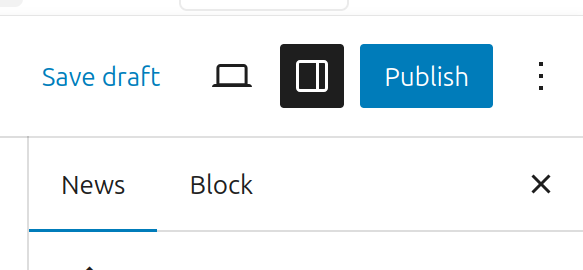
You can click “Save draft” at anytime to avoid loosing your progress or to continue working on the article later.
Adding the content
Frequency uses the Guttenberg WordPress editor for news articles. This article will cover the basics.
Your article is composed by different type of blocks. Basic examples include:
- Paragraph (default)
- Image
- Headings
- Gallery
- List
- Quote
Add or choose a block
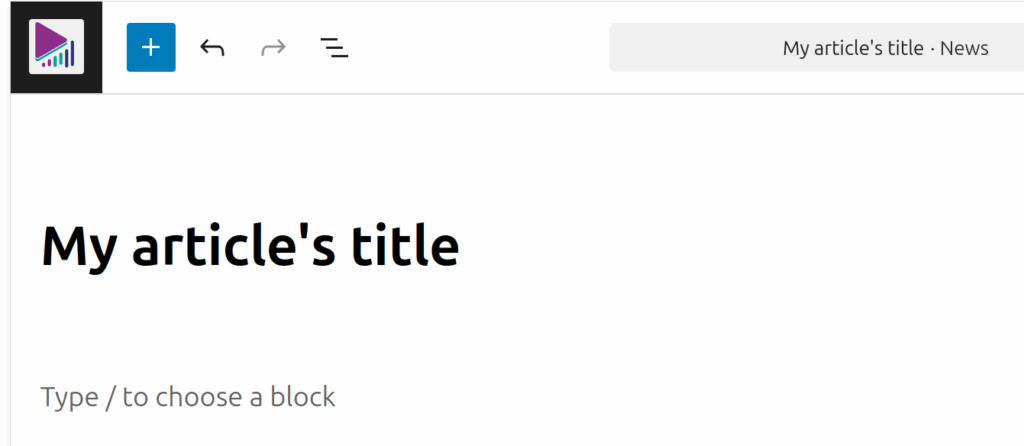
Start by clicking on Type / to choose a block field, below the title, to start writing your article’s content in a paragraph block. Pressing “Enter” on your keyboard will work as in any text editor, where you can then type another paragraph. However, you can also choose another block type by clicking the + icon or by typing “/” on your keyboard.
You can also copy/paste content from another source, such as a Word or PDF document. Content will automatically be converted to appropriate blocks (for example, paragraphs or headings will be converted to those types of blocks). Most of the formatting should be preserved too (bold, italic, hyperlinks) but it’s always a good idea to double check after pasting.
Edit an existing block
To edit an existing block, click on it. This will prompt a small block toolbar, where you can edit properties for the entire block (transform, duplicate, copy, delete) or formatting for selected text within the block (bold, italic, text alignment, etc.)
Yon can also change the type of block (for example paragraph to heading). To do so, click on the icon at the very left of the toolbar.

This will bring a Transform to selection, where you can select another type of block.

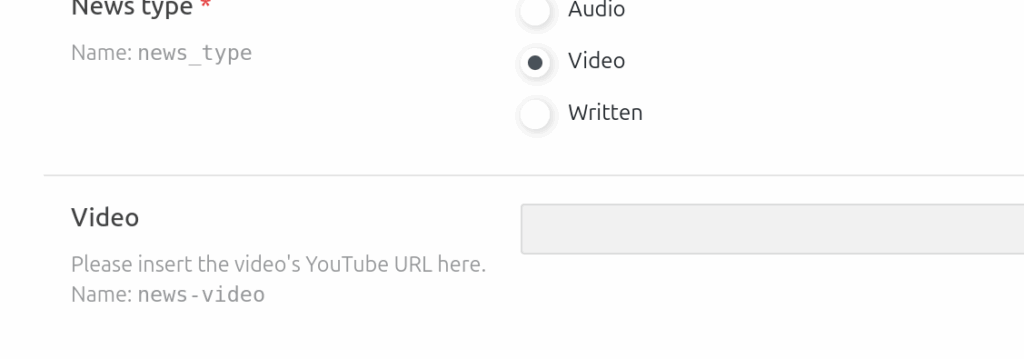
Select the news type
Below the article content, you will find a box that allows you to select the news type and add the media file.
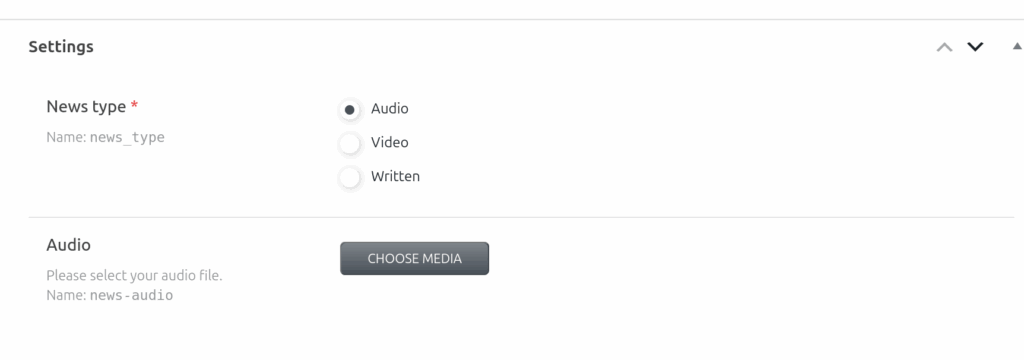
Please select the type related to your medium.
- Audio: for radio stations
- Video: for television stations
- Written: for publications
Upon selecting a news type, the available field below will change accordingly. For example, selecting Video will display a field where you can paste the video’s Youtube URL.
- Audio: displays a field where you can upload an audio file (currently supports .mp3 and .wav).
- Video: displays a field where you can add a video (supports YouTube).
- Written: will not display any field below; all the content is in the article.
Preview the article
You can preview your article at any time. To do so, click the computer icon, top right. This will prompt a pop-over to confirm the device preview.
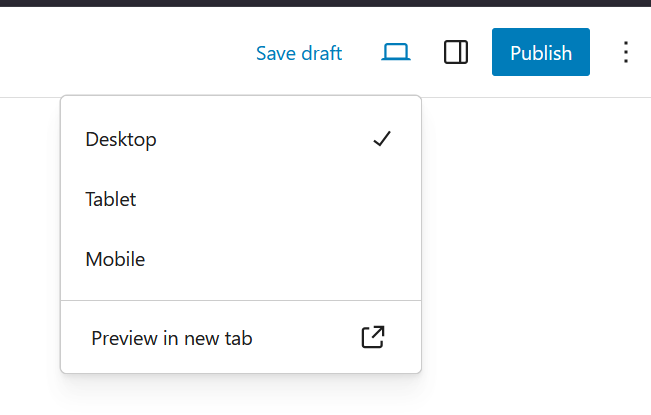
By default, Desktop is selected, but you can also choose Tablet or Mobile. Once your device is selected, click Preview in tab, which will open a new tab with a preview of your current article.
Publishing the article
When you are ready to publish, click the blue Publish button, top right. After clicking the button, you will be asked if you are ready to publish and to double check before proceeding. Click the blue Publish button again to proceed and publish immediately.
Scheduling an article
Your article can be published automatically at a specific time and date in the future, click on the Immediately link next to publish, in the right side bar. A calendar pop-over will appear; select a future date and time.
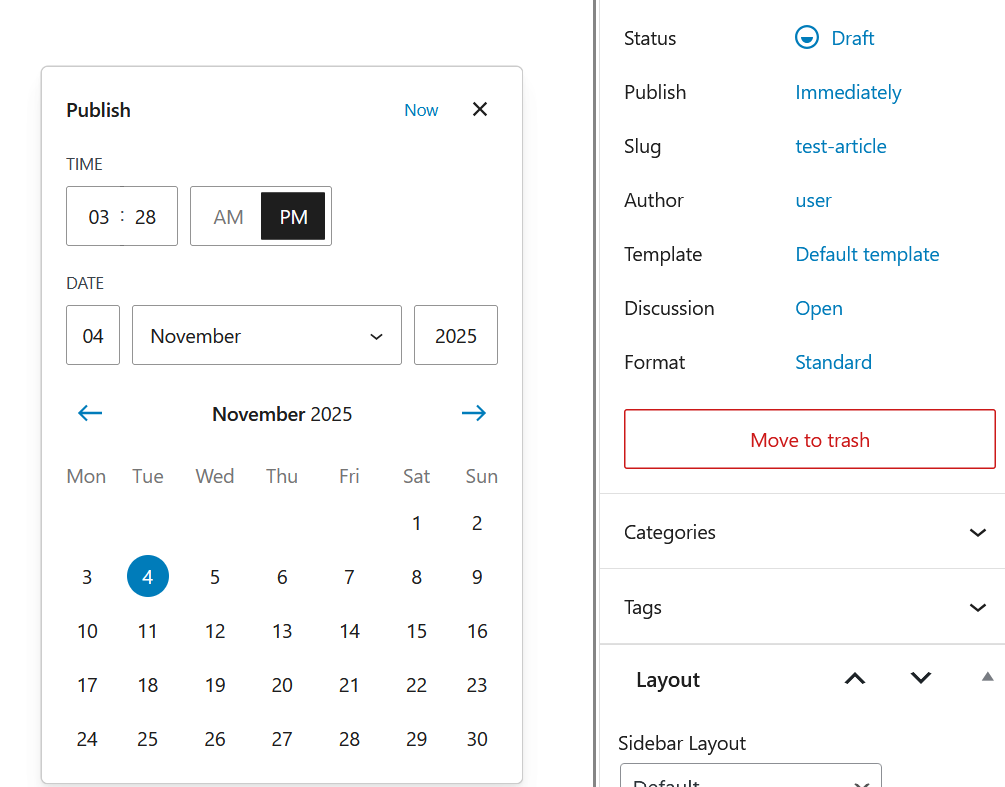
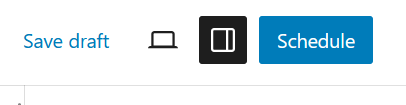
Choosing a future date will change the Publish button to Schedule. Once you are done with your news article, click Schedule.
Note: you can edit your article before the scheduled date via the backend. First, follow the instruction under Editing a published article below and click Schedule again (instead of Publish).
Editing a published article
To edit a live and published news article, you can browse your article on frequencynews.ca while being logged-in. Logged-in user have access to an admin bar at the top of the screen. On this admin bar, click Edit post.
Alternatively, you can also edit you news article via the backend: on the left menu bar, click News, then find your article in the list and click on the title or on Edit, below your article’s title. This method is ideal when the article is not live on the site or published, such as scheduled articles or drafts.
Proceed to editing your news article, then click the blue Save button to the top right of the screen.
Deleting a news article
Deleting articles is currently not supported. If you wish to remove a published news article from Frequency, you can switch back the article to the Draft status, instead of Published.
To do so, start by editing a published article. While editing, in the right side bar, click Published under Status. This will show a Status & visibility pop-over; select Draft and then click the blue Save button.

Need more help?
If you experience issues during this process or have any questions related to publishing news, feel free to fill the Report a technical issue form.